Meta Stamp
![]() The "Meta Stamp" script creates on the image a kind of "boilerplate" containing the file name, EXIF tags, and other metadata (screenshot).
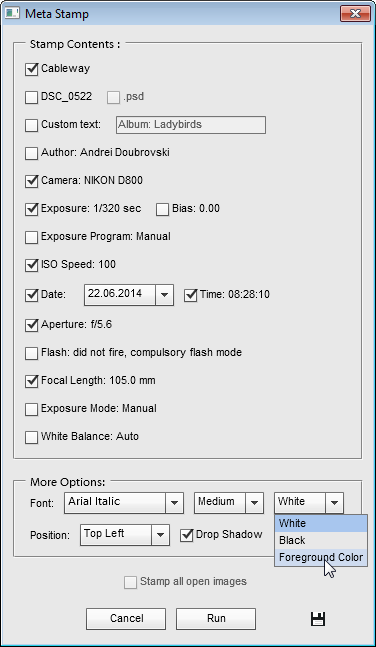
The "Meta Stamp" script creates on the image a kind of "boilerplate" containing the file name, EXIF tags, and other metadata (screenshot).
- If you want the stamp to include document title, author name, or copyright notice, open the "File Info" dialog (File > File Info) and fill the appropriate fields (see example).
- From the "Scripts" dialog, run the "Meta Stamp" script.
- In the dialog box that appears, check the boxes next to the data that should be included in the stamp.
In the "More Options" area, define all the other stamp settings:
- In the "Font" line, choose font family, size, and color.
- In the "Position" menu select the image corner where the stamp will appear.
- The "Drop Shadow" option adds to the stamp layer the "Shadow" effect.
- To merge the stamped image into Background layer, check the "Flatten" checkbox. Unchecking this box means leaving the stamp in separate text layer.
- To stamp all the currently opened documents, check the "Stamp all open images" gadgets. Of course, for each document the script uses its own metadata.
- Click the "Run" button to apply the stamp.
To stamp an entire folder of photographs, you use the "Batch" dialog:
- Open any image having all the required metadata. That is, if you want to include the EXIF tags, it should be a file from digital camera; if the stamps must contain the author name, open the "File Info" dialog and fill the necessary fields (see above).
- Call the "Meta Stamp" dialog and make your choices.
- Click the "Save and close"
 button to remember the settings.
 - Open the "Batch" dialog.
- Select for execution the "Meta Stamp -batch edition" script.
- Choose the "Source" and "Destination" options.
- Click "Run" to start the batch processing.